Savor the blend of luscious strawberries, velvety yogurt, and hearty oats in these Healthy No-Bake Strawberry Yogurt Bars. Discover a guilt-free indulgence that combines freshness with convenience, ideal for a quick snack or light dessert. With a satisfying crunch and a burst of fruity sweetness, these bars offer a delightful balance of flavors. Stay tuned to uncover the effortless steps to prepare these delectable treats and unlock the secrets to their wholesome ingredients that make them a nutritious delight.
Fresh Ingredients for Strawberry Yogurt Bars
To make the perfect No-Bake Strawberry Yogurt Bars, gather your freshest ingredients. Start by selecting ripe, juicy strawberries that will add a burst of natural sweetness to your bars. Look for vibrant red berries that are firm to the touch and have fresh green caps. Next, choose a creamy and tangy Greek yogurt that will provide a smooth and luscious texture to your bars. Opt for a high-quality yogurt that's free of any artificial additives or excess sugar.
For the base of your bars, you'll need some old-fashioned rolled oats, which will give your bars a hearty and wholesome crunch. Make sure to use gluten-free oats if you have any dietary restrictions. Additionally, gather some raw honey or maple syrup for a natural sweetener that will bind all the ingredients together. Lastly, have some unsalted butter or coconut oil on hand to help set the bars once they're chilled. With these fresh and wholesome ingredients, you're well on your way to creating delicious No-Bake Strawberry Yogurt Bars.
Simple Steps to Prepare Bars
Begin by gathering all your prepared ingredients for the No-Bake Strawberry Yogurt Bars. Take out the oats, almonds, dates, coconut oil, honey, Greek yogurt, strawberries, and lemon juice. In a food processor, pulse the oats, almonds, dates, and coconut oil until they form a sticky crumb-like texture. Press this mixture firmly into the base of a lined baking pan to create the crust.
Next, mix the Greek yogurt, honey, and lemon juice in a bowl until well combined. Pour this creamy mixture over the crust, spreading it out evenly. Now, it's time to add the sliced fresh strawberries on top of the yogurt layer. Gently press the strawberries into the yogurt mixture.
To finish, cover the pan with plastic wrap and place it in the refrigerator for at least 4 hours to set. Once the bars have chilled and set, remove them from the fridge and slice them into squares. Enjoy these healthy No-Bake Strawberry Yogurt Bars as a refreshing treat!
Chilling and Setting the Bars
Once the No-Bake Strawberry Yogurt Bars have been assembled in the pan, they need to be refrigerated for at least 4 hours to chill and set. This crucial step allows the bars to firm up and hold their shape when sliced into delicious portions. During this time in the refrigerator, the creamy yogurt mixture will solidify, and the flavors will meld together beautifully.
It's important to resist the temptation to cut into the bars before the chilling period is complete. Patience is key here, as cutting them too early may result in a messy texture and the bars not holding their form. The refrigeration time ensures that when you do finally slice into the bars, you'll be met with perfectly set layers and a clean presentation.
After the bars have chilled for at least 4 hours, they'll be ready to be taken out of the refrigerator and served. The next step will be to enjoy these refreshing and healthy No-Bake Strawberry Yogurt Bars, which are ideal for a guilt-free treat or a light dessert option.
Serving Suggestions and Storage Tips
For best results, serve the No-Bake Strawberry Yogurt Bars chilled straight from the refrigerator. This will enhance the refreshing taste and firm texture of the bars, making them a delightful treat on a warm day. When ready to serve, cut the bars into squares or rectangles, depending on your preference, and plate them individually for a neat presentation.
If you have any leftovers, store the bars in an airtight container in the refrigerator. Properly stored, these yogurt bars can last for up to 3-4 days, maintaining their flavor and texture. Avoid leaving them out at room temperature for an extended period as they might soften and lose their shape.
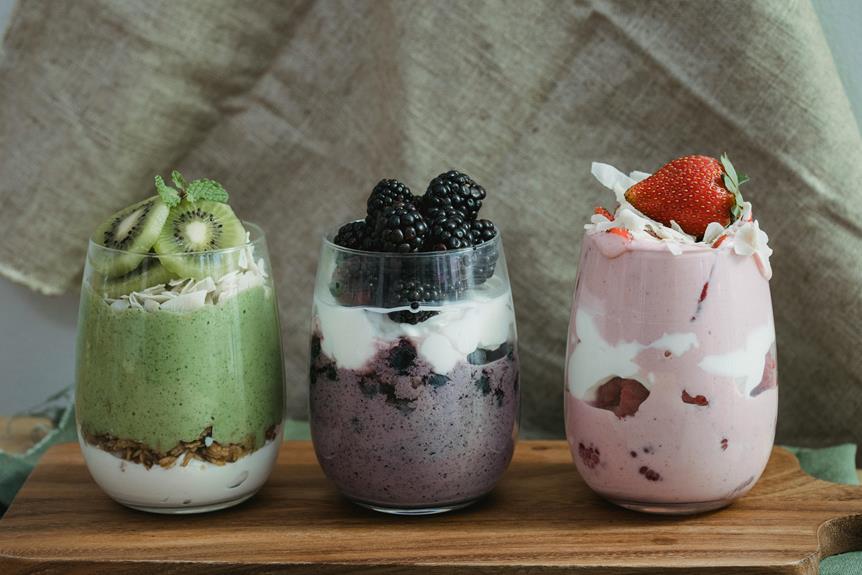
To add a little extra flair when serving, consider garnishing the bars with fresh strawberry slices, a dollop of Greek yogurt, or a sprinkle of granola. These additional touches not only enhance the visual appeal but also add different textures and flavors to each bite. Enjoy these healthy no-bake treats as a snack, dessert, or even a light breakfast option.
Nutritional Benefits of Yogurt Bars
Considering their key ingredients, these yogurt bars offer a range of nutritional benefits that can contribute to a balanced diet. Packed with creamy yogurt, these bars provide a good source of calcium, essential for bone health and muscle function.
The strawberries in the bars add a burst of vitamin C, aiding in immune function and skin health. Additionally, the oats used in the base of the bars offer a dose of fiber, promoting digestive health and keeping you feeling full and satisfied.
The honey or maple syrup used as a natural sweetener provides energy-boosting carbohydrates without the refined sugars found in many store-bought snacks.